Got yourself a Vilo Mesh Wi-Fi system? Nice — these little guys are budget-friendly and still pack a punch when it comes to coverage. But before you sit back and enjoy smooth streaming, you’ll want to log in and tweak a few settings. Let’s get you set up.
Step 1 – Connect to Your Vilo Network
Look at the bottom of your Vilo unit or the quick start guide for the default Wi-Fi name (SSID) and password.
- On your phone or laptop, connect to that Wi-Fi.
- Or, if you prefer, plug an Ethernet cable directly into your computer for a stable connection.
Step 2 – Open the Vilo App
Unlike traditional routers, Vilo is app-based.
- Download the Vilo App from your device’s app store (iOS or Android).
- Sign in or create an account.
- Follow the setup wizard — it will detect your mesh network automatically.
Step 3 – Log In to the Admin Settings
Once the app is connected to your router:
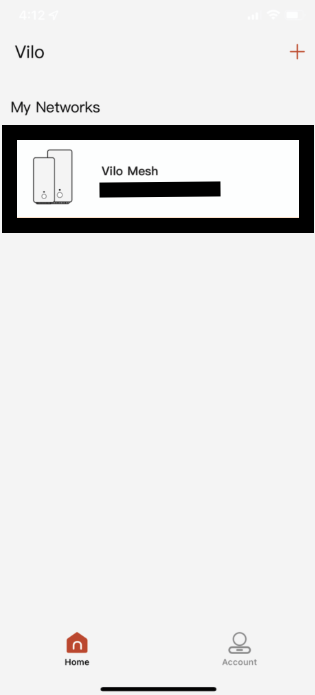
- Tap your network name in the app.
- Enter the admin password (if prompted).
- Access all your router settings right from the app.
Step 4 – Customize Your Wi-Fi
Inside the app, you can:
- Change your Wi-Fi name and password
- Set up guest networks
- View connected devices
- Update firmware to keep things running smooth

Troubleshooting Tips
- App can’t find the router? Make sure Bluetooth and location services are turned on during setup.
- Forgot the password? Check your email for the setup confirmation or reset the router.
- Network slow? Reboot both the main unit and satellites to refresh the connection.
Internal Links to Other Router Guides
Vilo Mesh Router Login – FAQ
Q1: Can I log in to Vilo using a browser?
No, Vilo is managed entirely through the Vilo app.
Q2: Does Vilo support guest networks?
Yes, you can create a separate guest network directly from the app.
Q3: How do I reset my Vilo router?
Hold down the reset button for about 10 seconds until the LED starts blinking.