Logging into your Easy Box router is easier than you think! Whether you’re adjusting settings or troubleshooting, this step-by-step guide will help you access your router’s dashboard without any hassle.
Step 1: Connect to Your Easy Box Network
Before you start, make sure you’re connected to your Easy Box router either via Wi-Fi or a wired connection.
Step 2: Open Your Browser
Now, open any web browser and type 192.168.1.1 into the address bar. Press enter, and you should land on the login page for your Easy Box router.
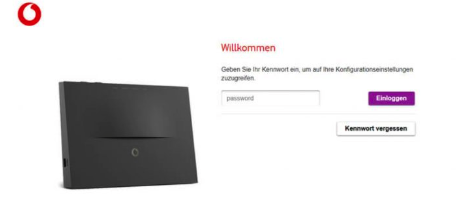
Step 3: Enter Your Username and Password
Typically, the default login details are admin for both the username and password. If you’ve changed these and forgotten them, you’ll need to reset your router to its factory settings.
Step 4: Configure Your Router Settings
Once you’re logged in, you can customize settings such as your Wi-Fi name (SSID), password, and security features.
Why It’s Important to Log Into Your Easy Box Router
By logging into your Easy Box router, you can adjust your network settings, secure your connection, and troubleshoot any issues. Regularly logging in ensures that your router is running smoothly and securely.
Troubleshooting Easy Box Router Login
If you’re having trouble accessing your router’s login page, here are a few things to check:
- Check the IP Address: The default address is
192.168.1.1. Double-check if it’s correct. - Reset the Router: If you’ve forgotten your credentials, perform a reset to restore factory settings.
- Clear Cache: Sometimes clearing your browser’s cache and cookies can solve login issues.