Want to tweak your WiFi settings, change your password, or fix network issues on your NetCologne router? This guide will show you how to log in step-by-step!
How to Log In to Your NetCologne Router
Step 1: Connect to Your Router
✔️ Use a PC, laptop, or smartphone.
✔️ Connect via WiFi or an Ethernet cable.
Step 2: Open the Router Login Page
✔️ Open your web browser (Chrome, Firefox, Edge, Safari).
✔️ Type the router’s default IP address into the address bar:
192.168.1.1(Common default IP)(Try this if the first one doesn’t work!)
✔️ Press Enter to load the login page.
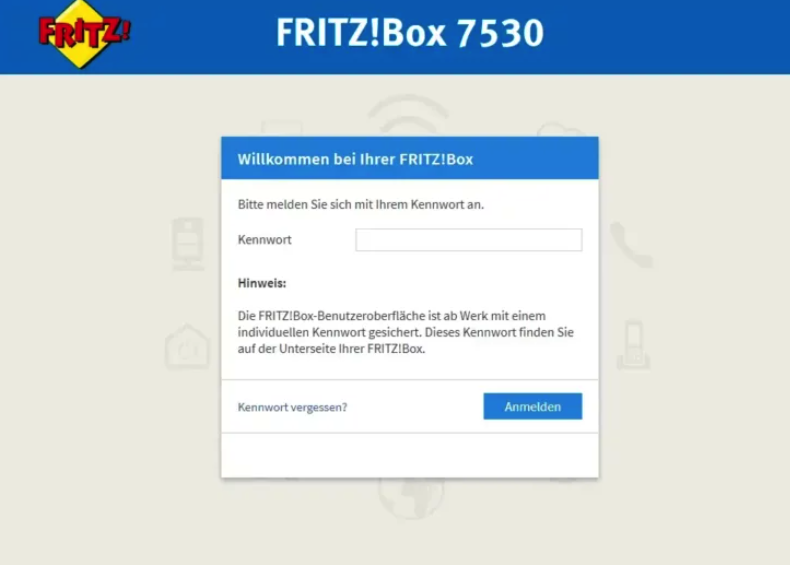
Step 3: Enter Your Login Credentials
✔️ Username: admin
✔️ Password: admin (or check the sticker on your router)
✔️ Click Login to access your router settings.
✅ You’re now in! Time to customize your network. 🎉
How to Change NetCologne WiFi Name & Password
1️⃣ Go to Wireless Settings in the dashboard.
2️⃣ Find the SSID (WiFi Name) and change it.
3️⃣ Locate the WiFi Password field and set a new password.
4️⃣ Click Save/Apply and reboot the router.
✅ Your new WiFi settings are now active! 🔒
Troubleshooting NetCologne Router Login Issues
❌ Can’t Access 192.168.1.1?
🔹 Ensure you’re connected to the router (not mobile data!).
🔹 Try another browser or clear cache.
🔹 Find your correct router IP using ipconfig (Windows) or ifconfig (Mac/Linux).
❌ Forgot Router Password?
🔹 Reset the router by pressing the reset button for 10-15 seconds.
🔹 Use the default login details after resetting.
❌ Slow Internet or Connectivity Issues?
🔹 Restart the router and modem.
🔹 Move the router to a central location for better coverage.
🔹 Contact NetCologne support if the issue persists.
Final Thoughts
Accessing your NetCologne router is simple when you follow these steps. Whether you need to change WiFi settings, boost security, or troubleshoot issues, this guide has got you covered! 🚀
Still got questions? Drop them in the comments! 💬