Setting up your NTT router properly is crucial for a stable internet connection, faster speeds, and better security. Whether you’re installing it for the first time or resetting it, this guide will walk you through the entire NTT router setup process in minutes!
How to Set Up Your NTT Router
Step 1: Unbox and Connect the Router
✔️ Plug your NTT router into a power outlet.
✔️ Connect the router to the modem using an Ethernet cable (WAN port).
✔️ Turn on the router and wait for the lights to stabilize.
Step 2: Access the NTT Router Login Page
✔️ Connect your device (PC, laptop, or phone) to the router via WiFi or Ethernet.
✔️ Open a web browser and enter the default router IP:
192.168.1.1192.168.0.1
✔️ Press Enter to access the login page.
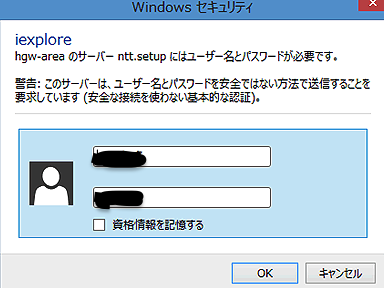
Step 3: Enter Login Credentials
✔️ Username: admin
✔️ Password: admin or password (Check the router label).
✔️ Click Login to enter the settings dashboard.
✅ You are now inside your NTT router settings! 🎉
How to Change NTT WiFi Name & Password
1️⃣ Navigate to Wireless Settings or WiFi Setup.
2️⃣ Locate the SSID (WiFi Name) section and enter a new WiFi name.
3️⃣ In the WiFi Password field, set a strong password (at least 12 characters).
4️⃣ Click Save/Apply and reboot the router.
✅ Your WiFi name and password are now updated! Reconnect your devices using the new credentials. 🔄
Troubleshooting NTT Router Setup Issues
❌ Can’t Access 192.168.1.1?
🔹 Ensure you’re connected to the NTT WiFi.
🔹 Try other default IPs: 192.168.0.1, 192.168.100.1.
🔹 Find the correct IP via ipconfig (Windows) or ifconfig (Mac).
❌ Forgot Admin Password?
🔹 Reset the router by pressing the reset button for 10-15 seconds.
🔹 Login using default credentials (admin/admin).
❌ No Internet After Setup?
🔹 Restart both your router and modem.
🔹 Check with NTT customer support for connection issues.
Final Thoughts
Setting up your NTT router is quick and easy if you follow the steps correctly. This guide ensures that you have a secure, high-speed WiFi connection ready to go. 🚀
Need more help? Drop a comment below! 💬