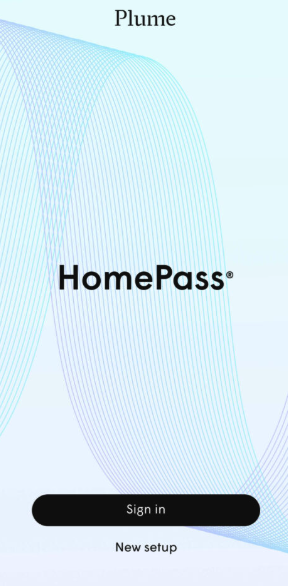
If you’re using Plume SuperPods or PowerPods, you’re operating with the Plume HomePass ecosystem, not a typical router. That means setting up and managing your Wi-Fi is done in a slightly different way. Let’s break it down clearly:
✅ Step 1: Connect to Your Plume Wi‑Fi Network
Make sure your phone or computer is connected to your Plume Wi‑Fi network first. You can connect wirelessly or by plugging into a directly connected pod via Ethernet. Without this, the app-based setup won’t load properly.
📱 Step 2: Use the Plume HomePass Mobile App
Important: Plume devices do not provide a traditional IP-based login like 192.168.1.1. Admin access is done via the Plume HomePass app, available on Android and iOS.
- Download the app and sign in with your Plume or ISP-linked account
- You can only manage Plume settings through the app unless your system supports web login—which is limited and may not be available for ISP users (Reddit, 192.168.1.1, Reddit)
🔐 Step 3: Inside the App — Manage Everything
Once you’re signed in, you can:
- Rename your network (SSID)
- Change Wi‑Fi password
- Create a guest network
- View connected devices
- Enable parental controls and configure QoS or security features
You’ll find all these under menu → Adapt in the app (192.168.1.1)

❌ No Local IP Login Method
Plume routers don’t support local IP login—even if you try 192.168.1.1, 192.168.100.1, or others the way other routers do—they won’t work. Management is entirely app or limited web interface based (192.168.1.1).
🔄 Forgot Your Login? Here’s How to Reset
If you’re locked out or the credentials don’t work:
- Press and hold the reset button on your pod for 10 seconds.
- Wait for the device to reboot—it resets to factory settings.
- Open the HomePass app again and go through setup as a new user or sign in using your Plume credentials.
That restores access and default settings.
❓ FAQs — Common Questions About Plume Login
Q: Can I access Plume settings via IP?
No—Plume devices don’t support local web login. Management is done via the HomePass mobile app, or in rare cases, a limited web portal depending on your ISP (Reddit, 192.168.10.1).
Q: What IP addresses can I try?
Even routers with IP lists like 192.168.1.1 or 192.168.40.1 won’t work for Plume networks—these settings are managed cloud-side or via app (router-reset.com).
Q: Can I manage a Plume network from a desktop browser?
Only in select cases—most users must use the mobile app. Some retail or self-managed accounts may offer a limited web portal, but ISP-provided Plume networks typically do not (Reddit).
Q: How to change Wi‑Fi name or password?
Open the HomePass app → Menu → Adapt → change SSID or password → Save/Apply.
✅ Quick Recap Table
| Step | What You Do |
|---|---|
| 1 | Connect your device to Plume Wi‑Fi or via Ethernet |
| 2 | Download and open the HomePass app to log into your account |
| 3 | Manage networks, passwords, guest access, and device lists |
| 4 | To regain access, reset the pod and log back in with the app |
| 5 | No local IP login—app-based control only (unless available via web for your account type) |
🔗 More Router Login Guides You May Like
Looking to log into a different router brand? Check these guides:
- Peplink Router Login
- Netgear Router Login
- TP‑Link Router Login
- Zbtlink Router Login
- Strong Router Login
Final Thoughts
Plume HomePass operates differently—it doesn’t use traditional IP login. Everything is managed via the app (or a limited web portal if available via your ISP). Once you’re set up and signed in, you have full control over your network settings through a simple and intuitive interface.