Need to configure your Sitecom WiFi extender but don’t know how to access the settings? No worries! The Sitecom.ext login portal lets you manage and optimize your extender’s performance in just a few steps. Let’s dive in!
How to Access Sitecom.ext Login Page
Step 1: Connect to Your Sitecom Extender
- Plug in your Sitecom WiFi extender and turn it on.
- Wait for the power LED to become stable.
- Connect your laptop or phone to the Sitecom_Ext WiFi network (no password required for setup).
Step 2: Open the Sitecom.ext Setup Page
- Launch a web browser and type http://sitecom.ext in the address bar.
- If it doesn’t work, try 192.168.0.1 or 192.168.1.1.
- Press Enter to access the login screen.
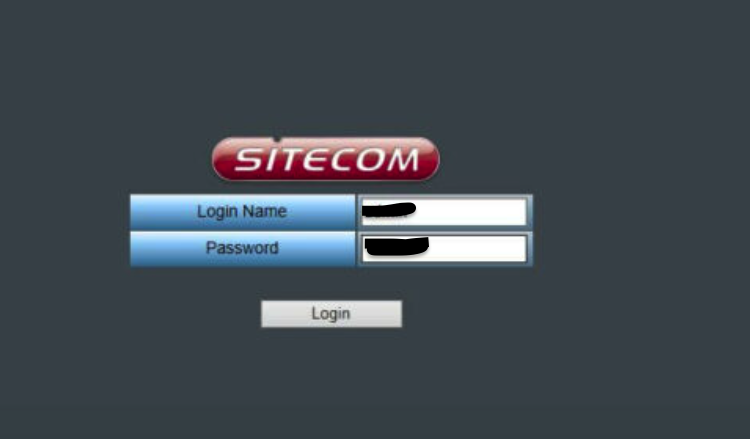
Step 3: Log in to the Sitecom Extender
- Default Username: admin
- Default Password: admin (or check the label on your device)
- Click Login to enter the setup dashboard.
How to Set Up Your Sitecom Extender
Step 1: Scan for Available Networks
- After logging in, click on WiFi Repeater Mode or Extend Existing WiFi.
- The extender will scan for nearby networks.
Step 2: Select Your WiFi Network
- Choose your home WiFi network from the list.
- Enter your WiFi password and click Connect.
Step 3: Reboot & Finalize Setup
- The extender will restart to apply the settings.
- Once done, reconnect your device to the newly extended WiFi network.
Troubleshooting Sitecom.ext Issues
❌ Can’t access Sitecom.ext?
✔️ Try using a different browser or clear your cache.
❌ Forgot Sitecom extender password?
✔️ Reset the extender by holding the Reset button for 10 seconds.
❌ Extender not connecting to WiFi?
✔️ Double-check your WiFi password and move the extender closer to the router.
Final Thoughts
The Sitecom.ext login portal makes it easy to set up and manage your Sitecom WiFi extender. Just follow the steps above, and you’ll have a stronger and more reliable WiFi connection in no time! 🚀