Are you ready to manage your UMNIAH router settings but don’t know how to log in? Don’t worry, I’ve got you covered with this easy guide.
Step 1: Connect to Your UMNIAH Network
First things first, ensure you’re connected to your UMNIAH router either via Wi-Fi or Ethernet cable.
Step 2: Open a Web Browser
Now that you’re connected, open your browser and type the default IP address: 192.168.1.1 into the address bar, then press enter.
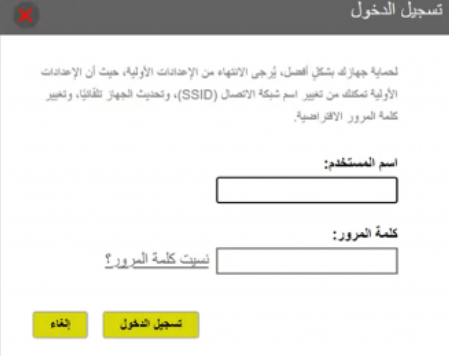
Step 3: Log in Using Your Credentials
The default username and password are usually admin. If these don’t work, check your router’s manual or reset it if needed.
Step 4: Personalize Your Router Settings
Once logged in, you can adjust your Wi-Fi name, password, security settings, and more. It’s your network – customize it to your liking!
Why You Should Log Into Your UMNIAH Router Regularly
Managing your router is essential to maintaining a secure and efficient network. Change your default password and tweak settings to suit your needs. Plus, a well-maintained router = a faster internet connection!
Troubleshooting UMNIAH Router Login Issues
If you run into login issues, here’s what to try:
- Double-check the IP address: The default is
192.168.1.1, but it might differ. Look it up in your router’s manual if needed. - Reset the router: Forgot your password? Simply reset your router to its factory settings and try again.
- Clear your browser cache: Sometimes, a simple cache clearing is all you need to fix login problems.